
For this challenge, we were provided with a file namedDocumentation Index
Fetch the complete documentation index at: https://docs.jaspervanzeir.be/llms.txt
Use this file to discover all available pages before exploring further.
usb_image.E01. The brief mentioned that a USB drop attack had taken place, meaning someone had presumably left a USB stick behind in the hope that an unsuspecting victim would plug it in and open it.
My objectives were:
- Discover what was actually on the USB.
- Identify the possible owner of the USB.
Enumeration & Initial Triage
I started by checking what kind of file I was dealing with: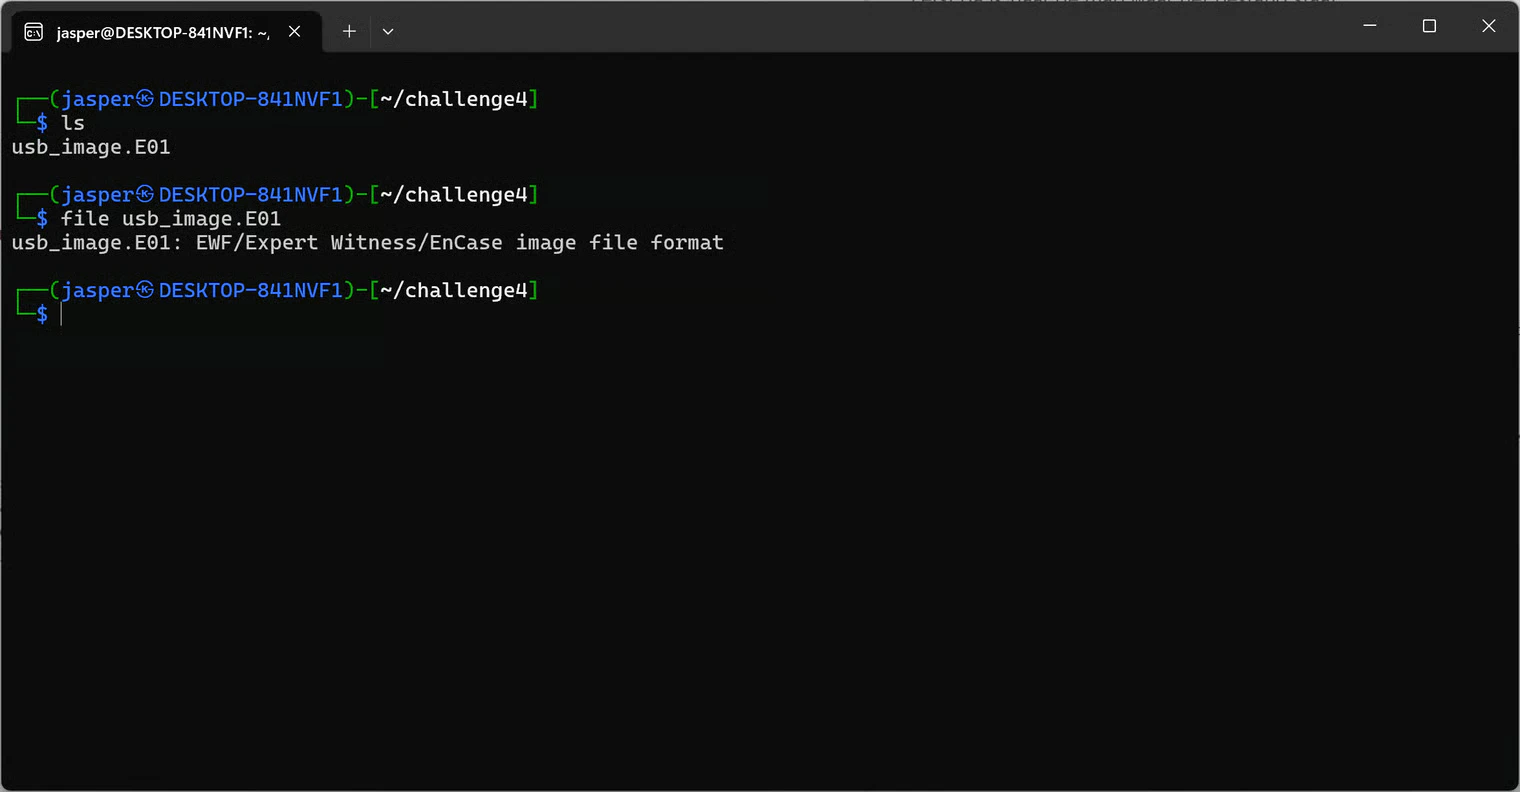
.E01 is a forensic copy of a USB stick or hard drive. So this wasn’t the USB itself, but a packaged image of it.
I created a directory to mount the E01 into:
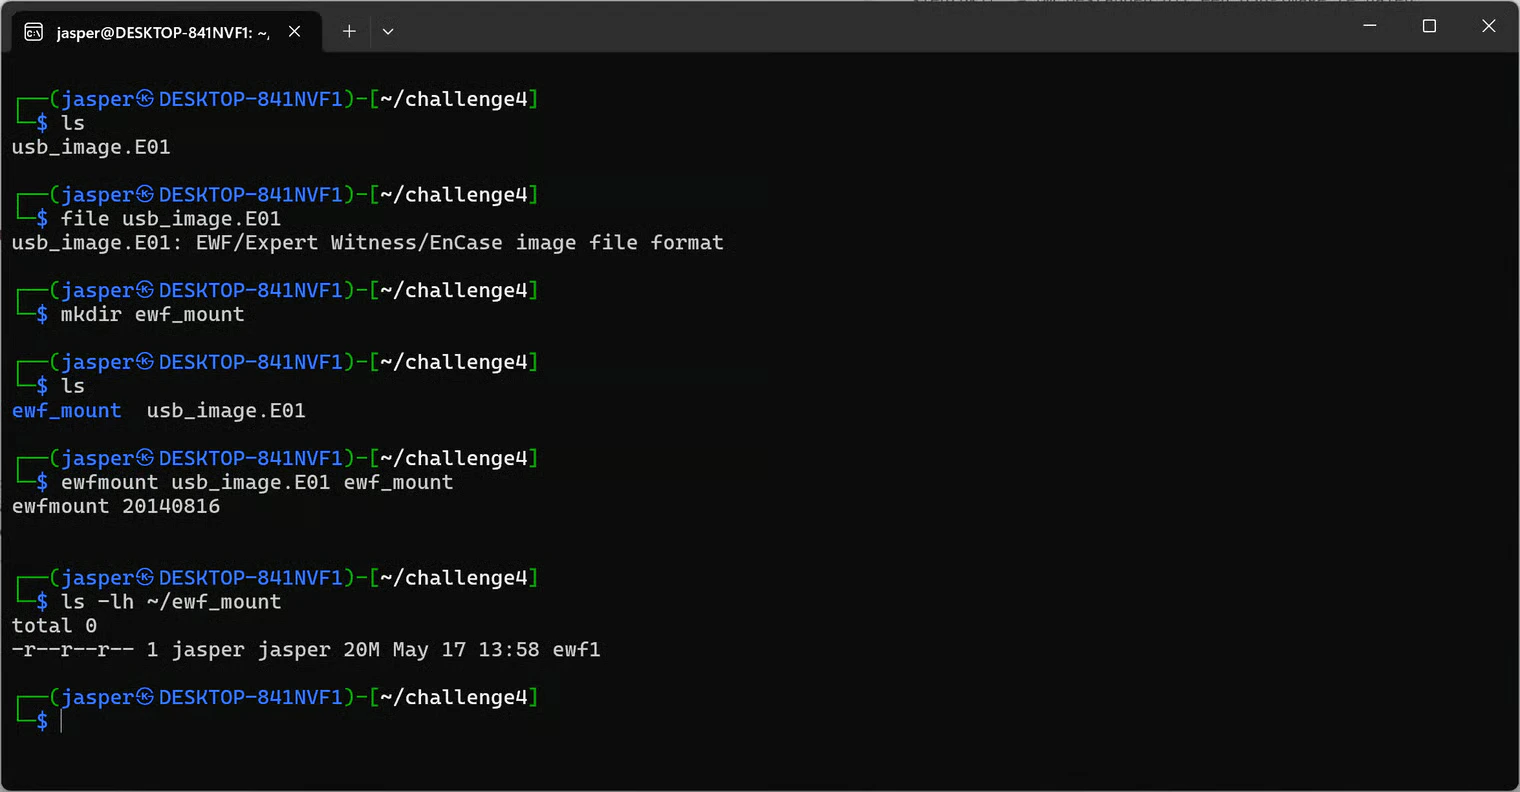
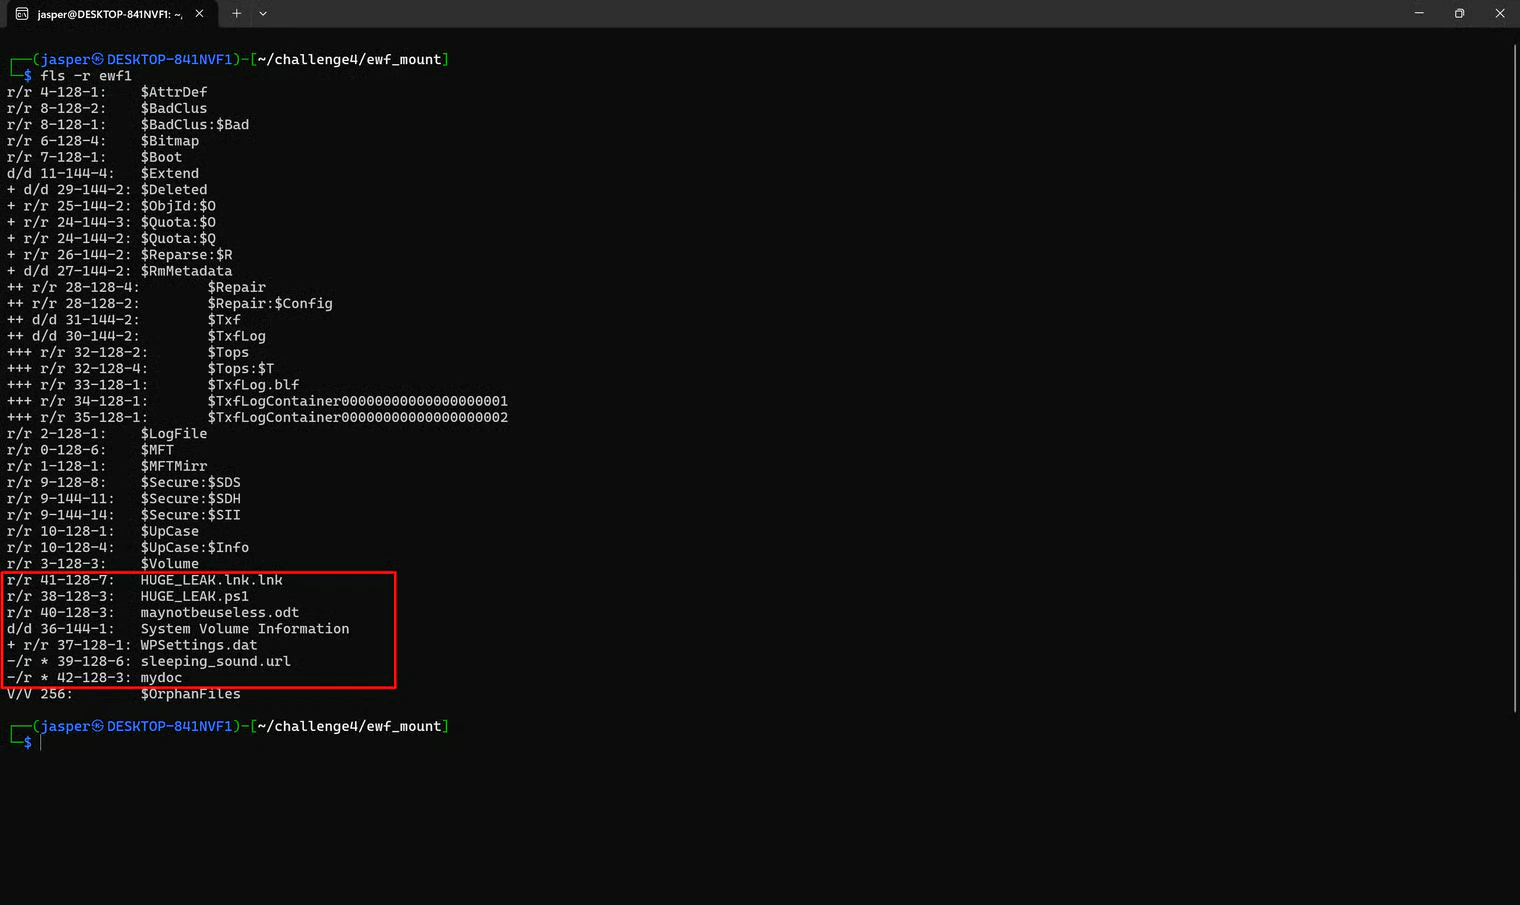
ewf1. To list the files on the USB itself, I used fls:
Extracting the Files
To pull these files out of the image, I usedicat. The trick with fls output is that each entry has a number on the left (e.g., HUGE_LEAK.lnk.lnk showed as 41-128-7, where 41 is the inode number to feed icat).
I went back to my challenge4 directory, created a new extracted folder, and dumped the files into it:
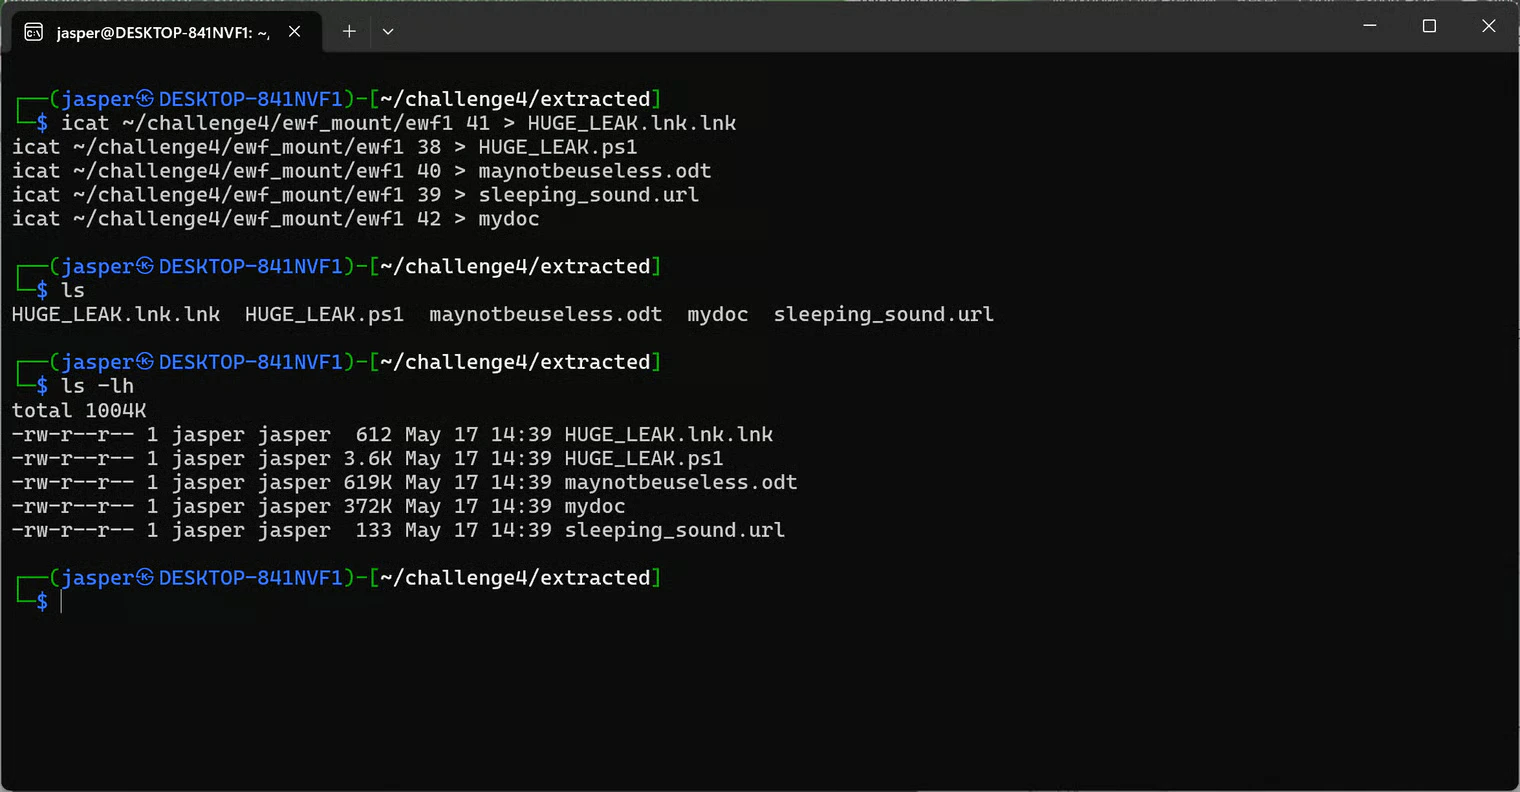
ls -lh confirmed the files were not empty, so I had plenty of material to investigate.
Inspecting Each File
HUGE_LEAK.ps1
First up was the PowerShell script: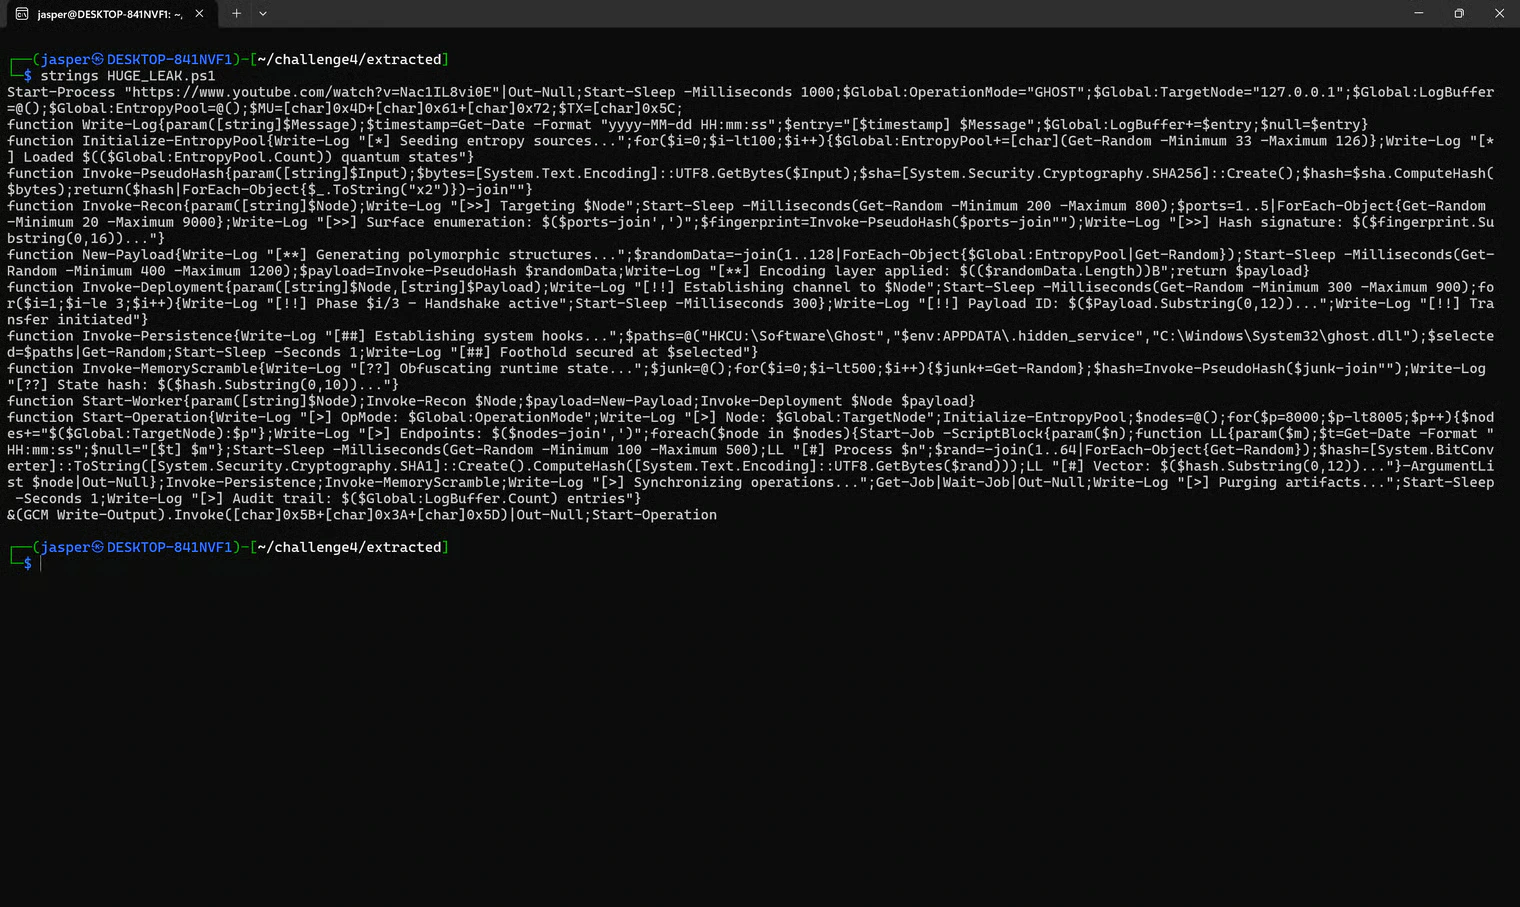
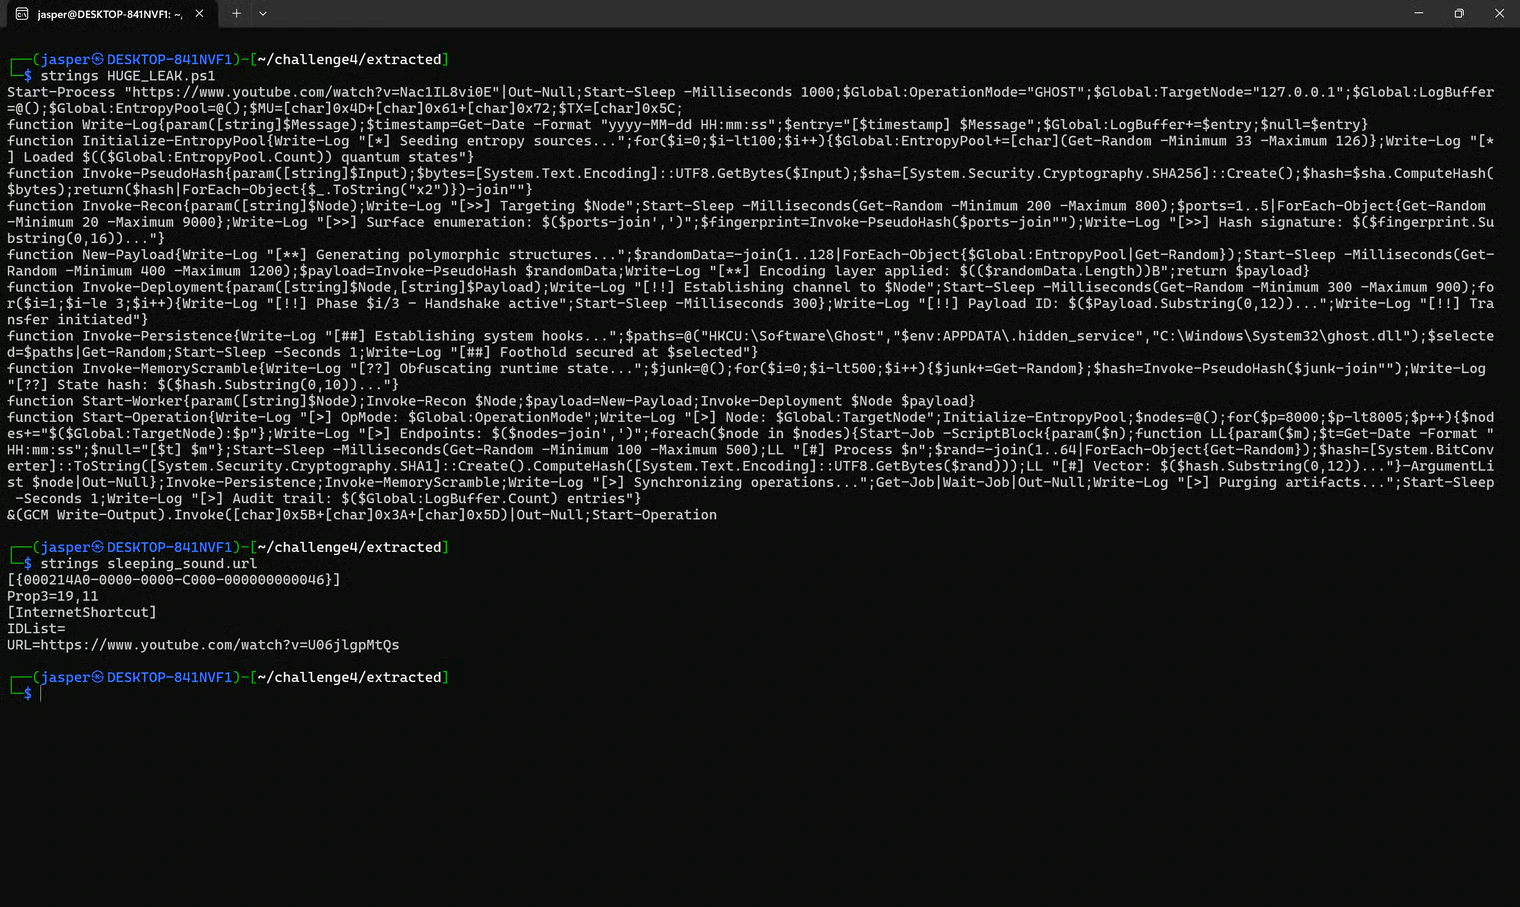
sleeping_sound.url
Next, the.url shortcut:
maynotbeuseless.odt
An.odt file is basically an OpenOffice / LibreOffice document, which is really just a ZIP archive containing text and images. I extracted it:
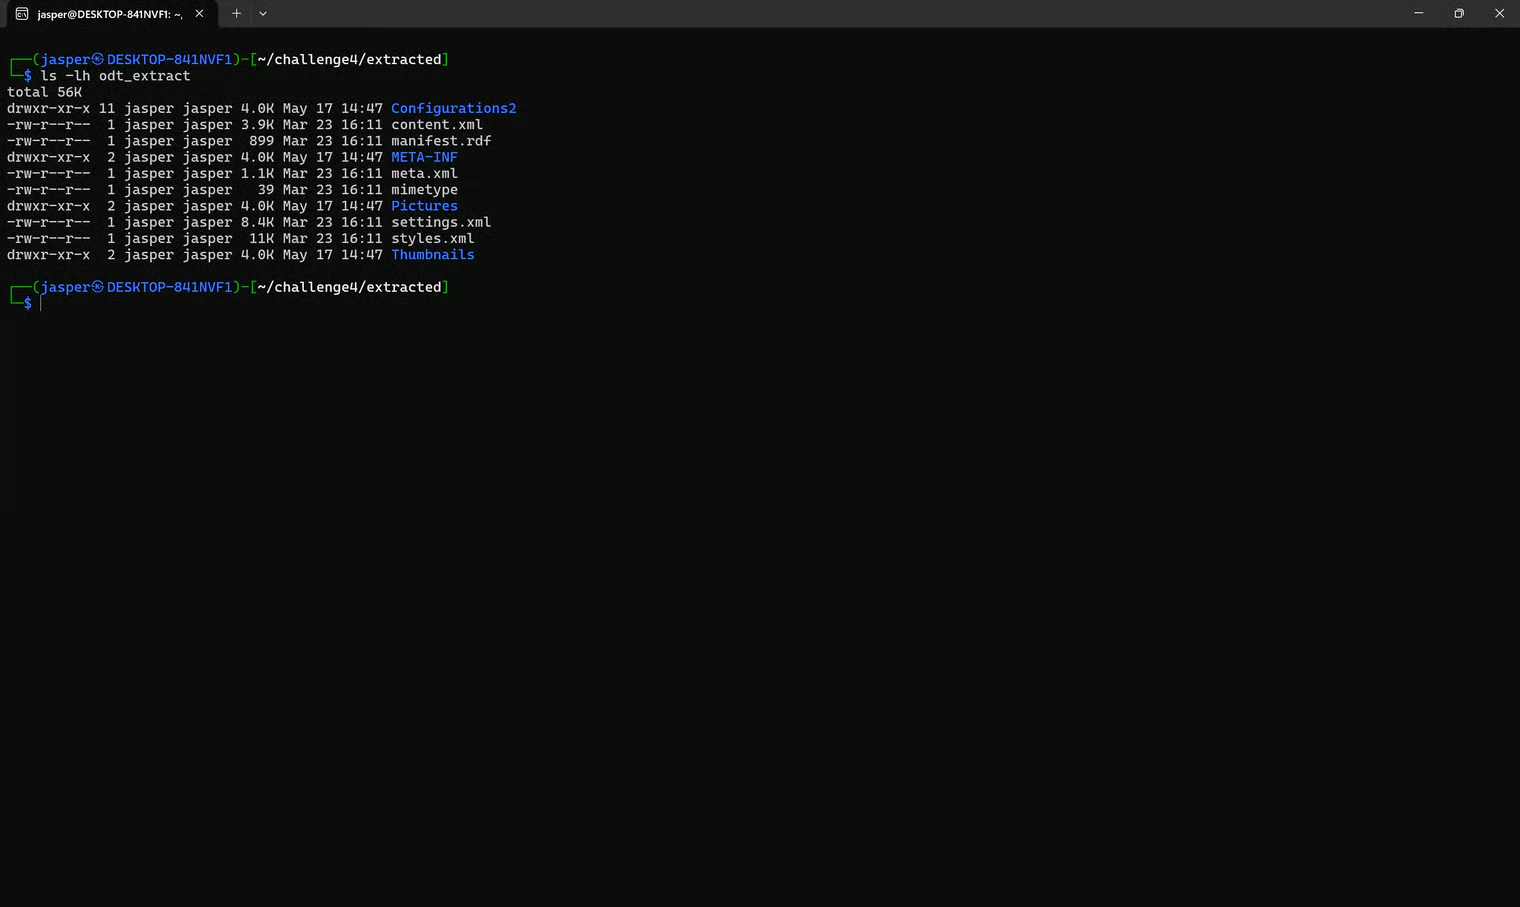
content.xml, meta.xml, and Pictures jumped out as the places worth poking around in.
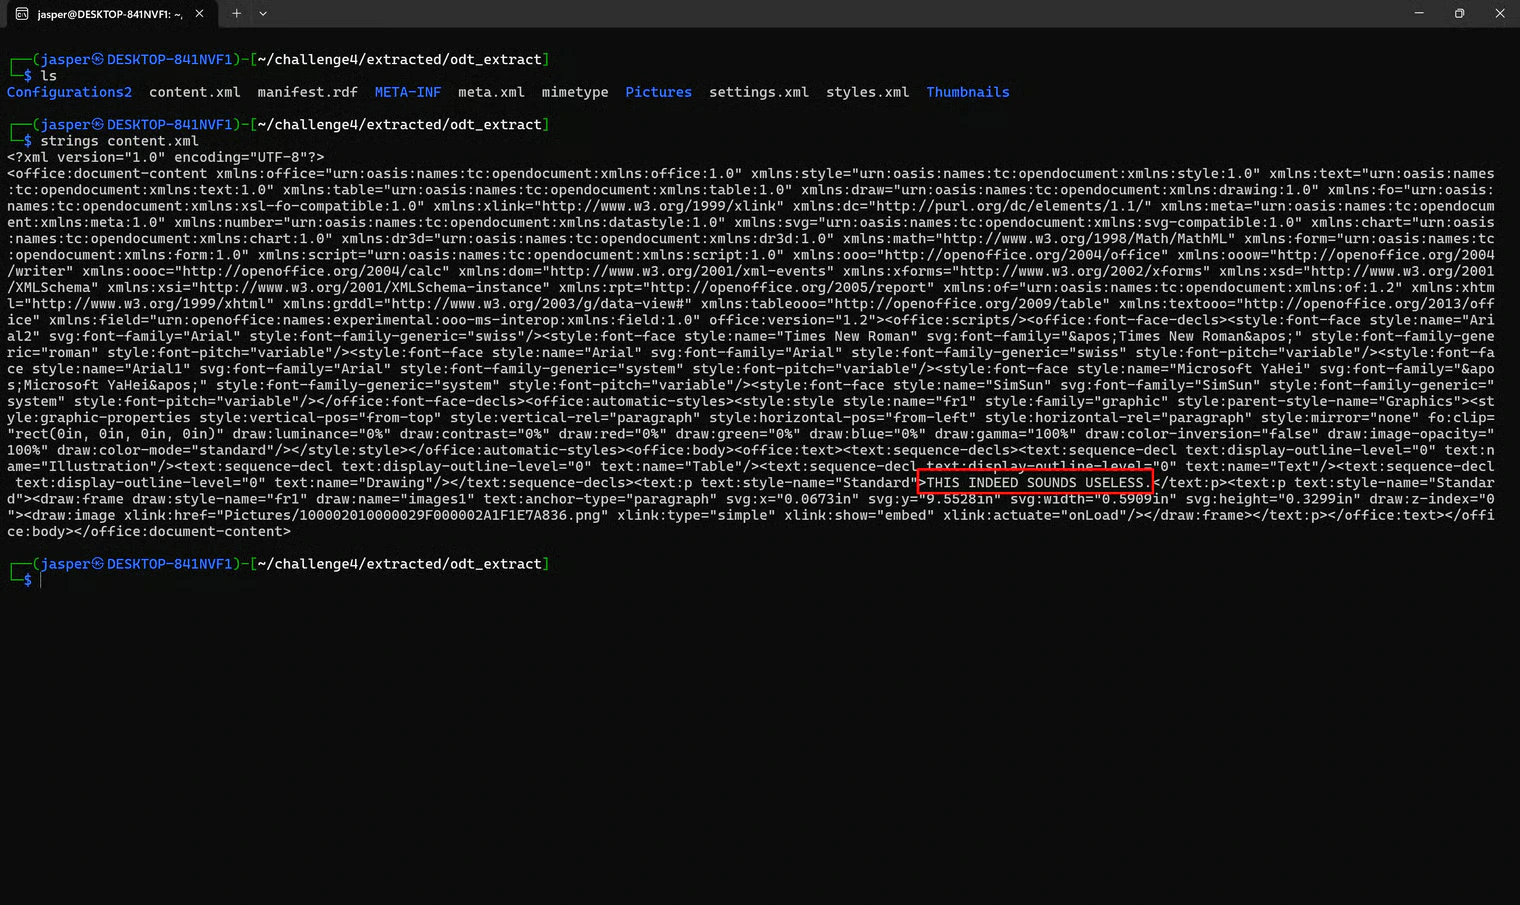
Unfortunately, content.xml was a dead end. It just contained the sentence THIS INDEED SOUNDS USELESS.
meta.xml:
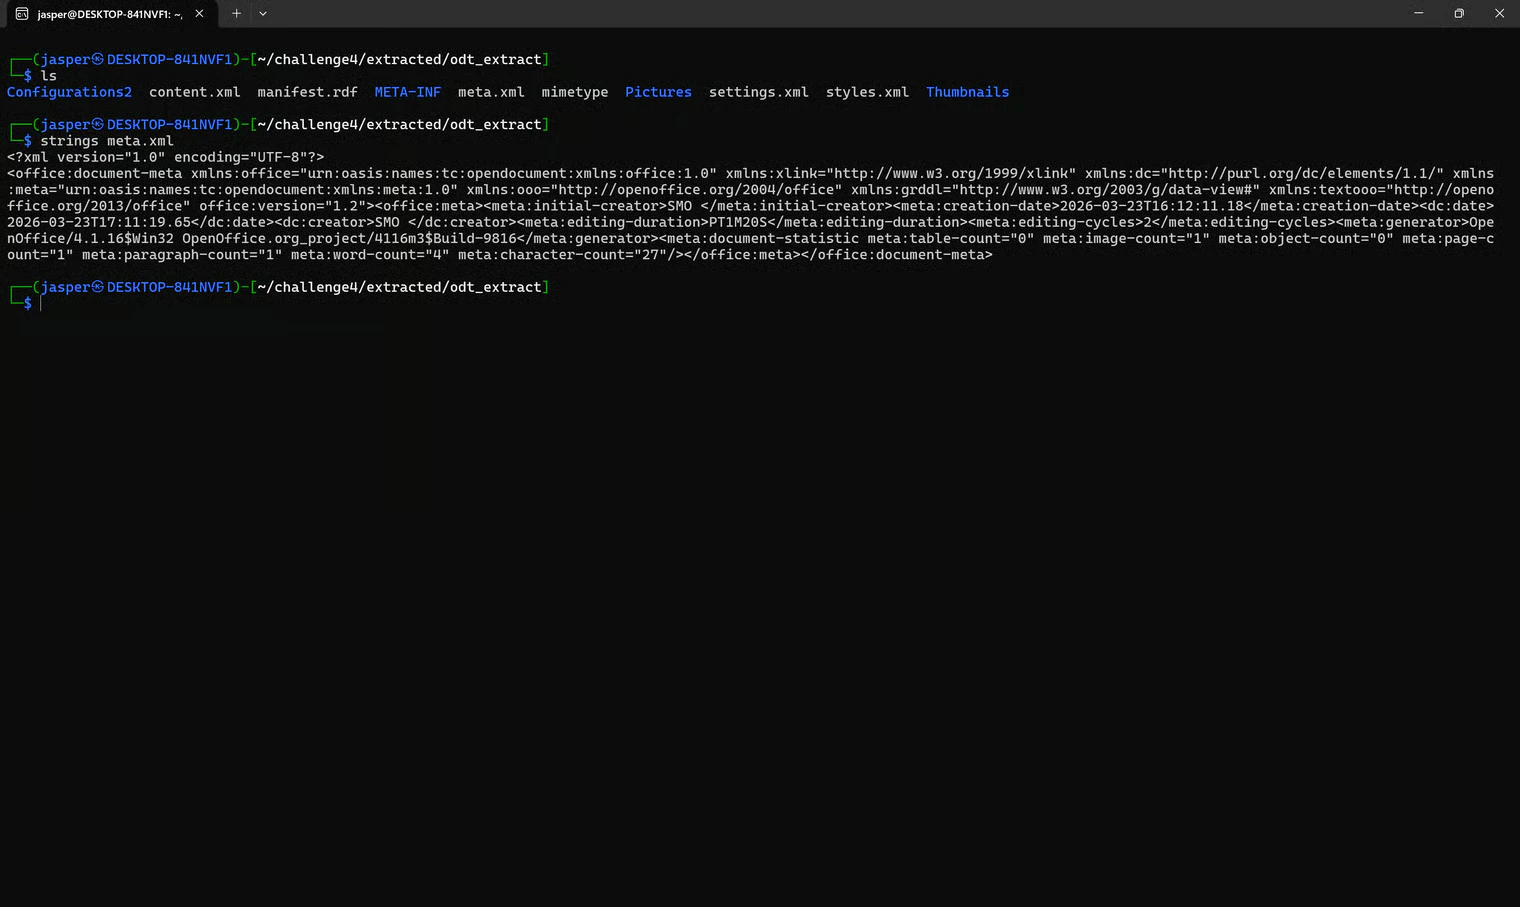
SMO, along with the creation date and last-modified date.
Then I checked the Pictures folder and opened the image inside it:
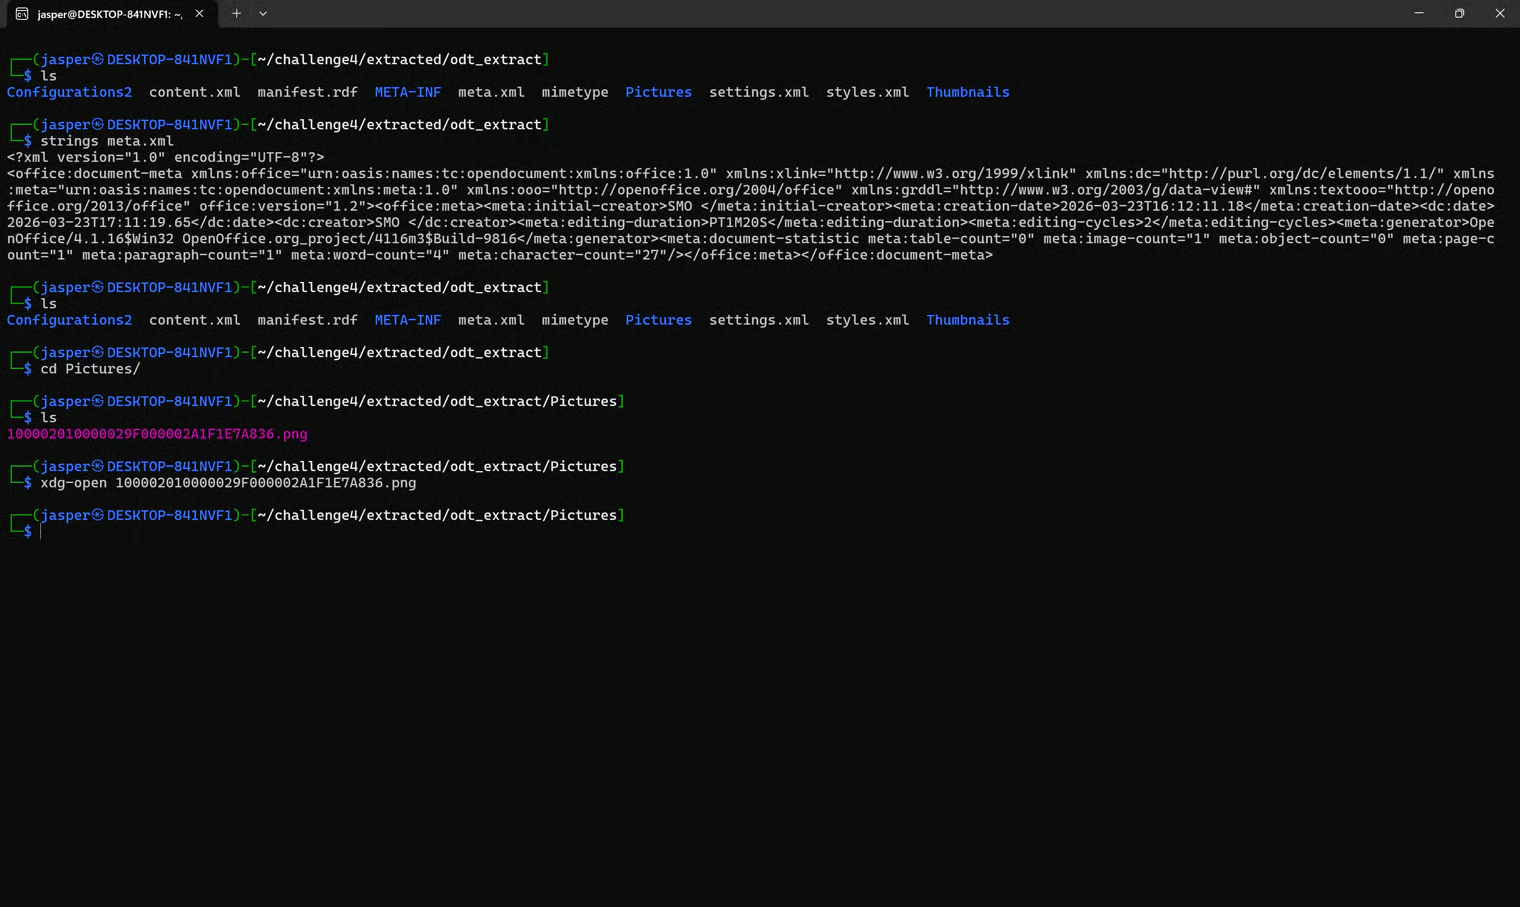
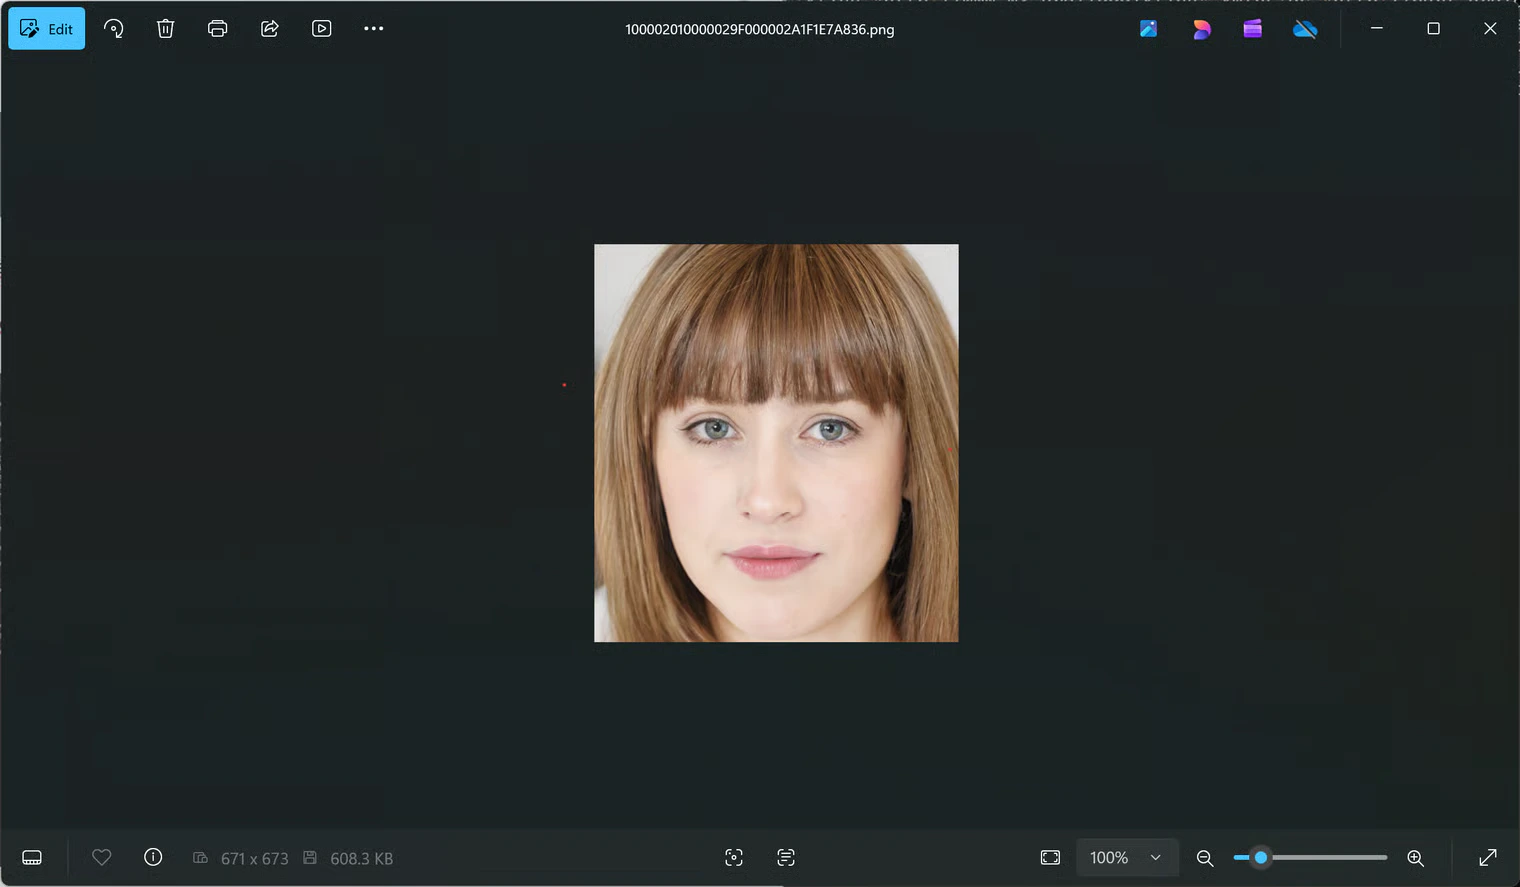
Thumbnails. This is normally just the icon assigned to the .odt document, but I wanted to be thorough. You never know.
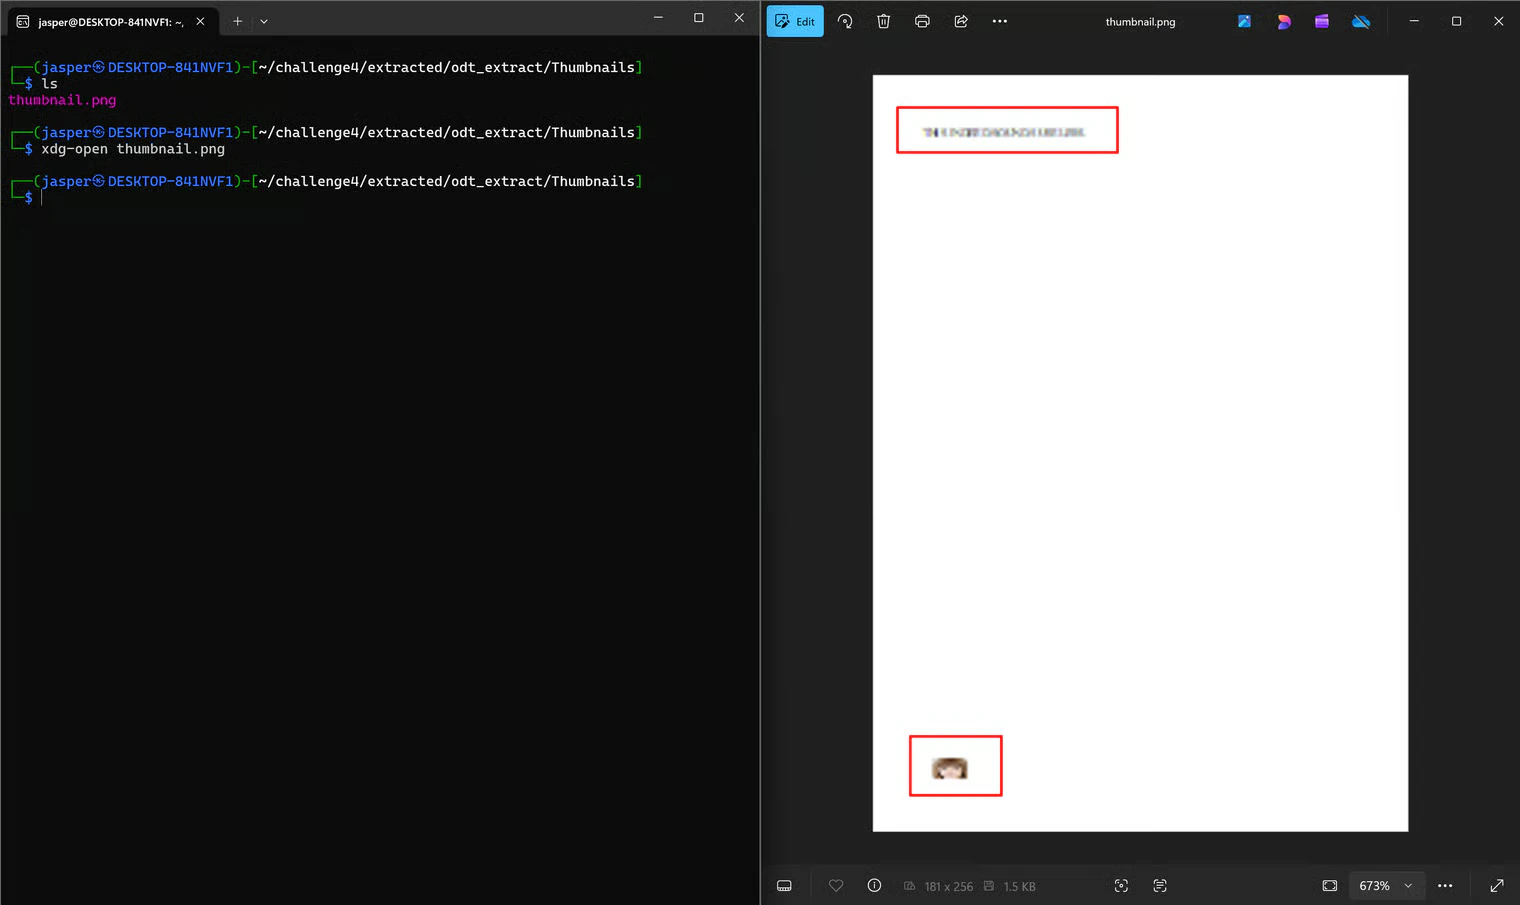
content.xml.
mydoc
The last file wasmydoc, with no extension at all. I asked Kali what it thought:
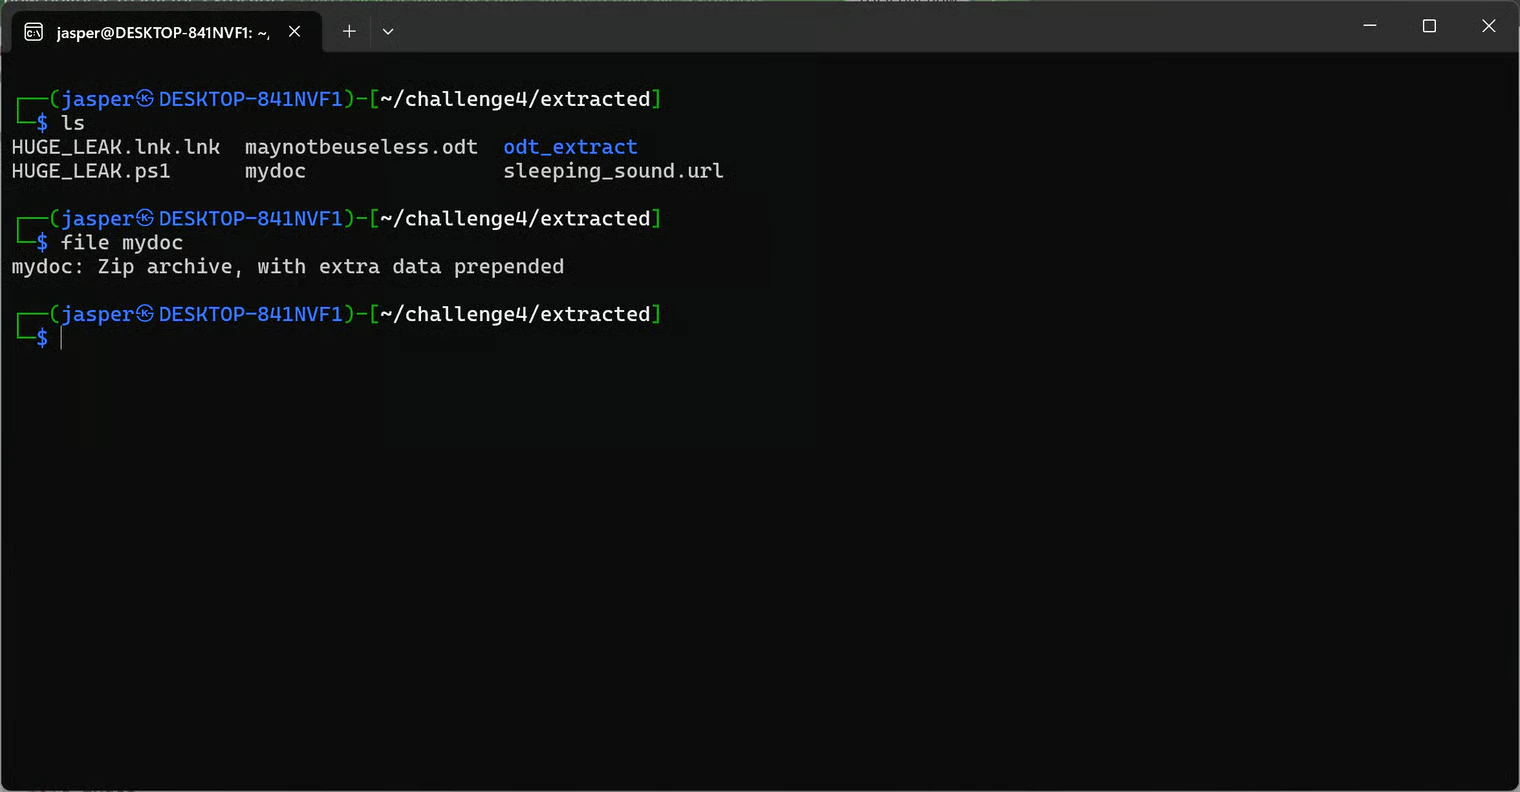
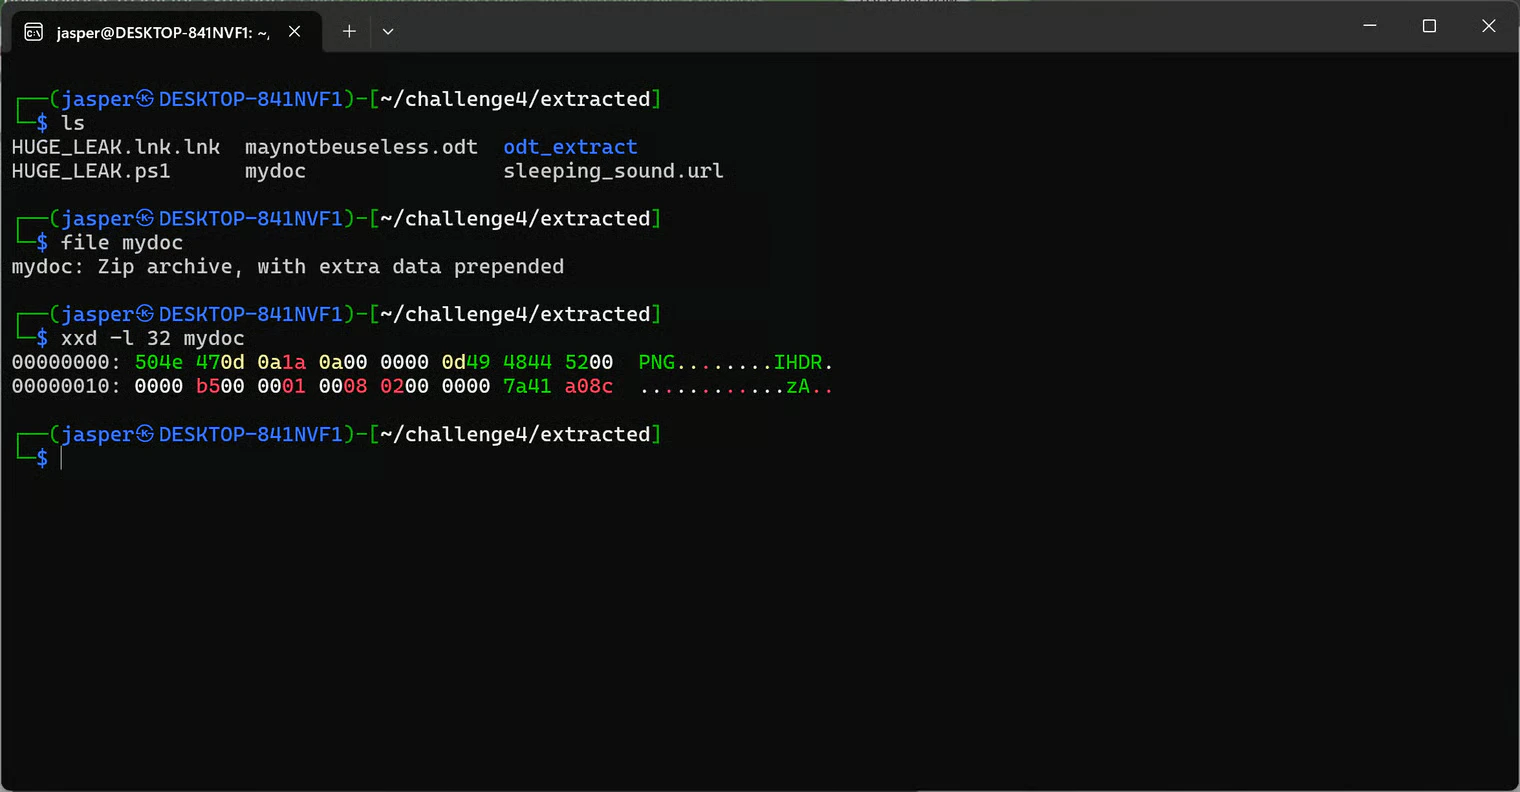
89, was missing.
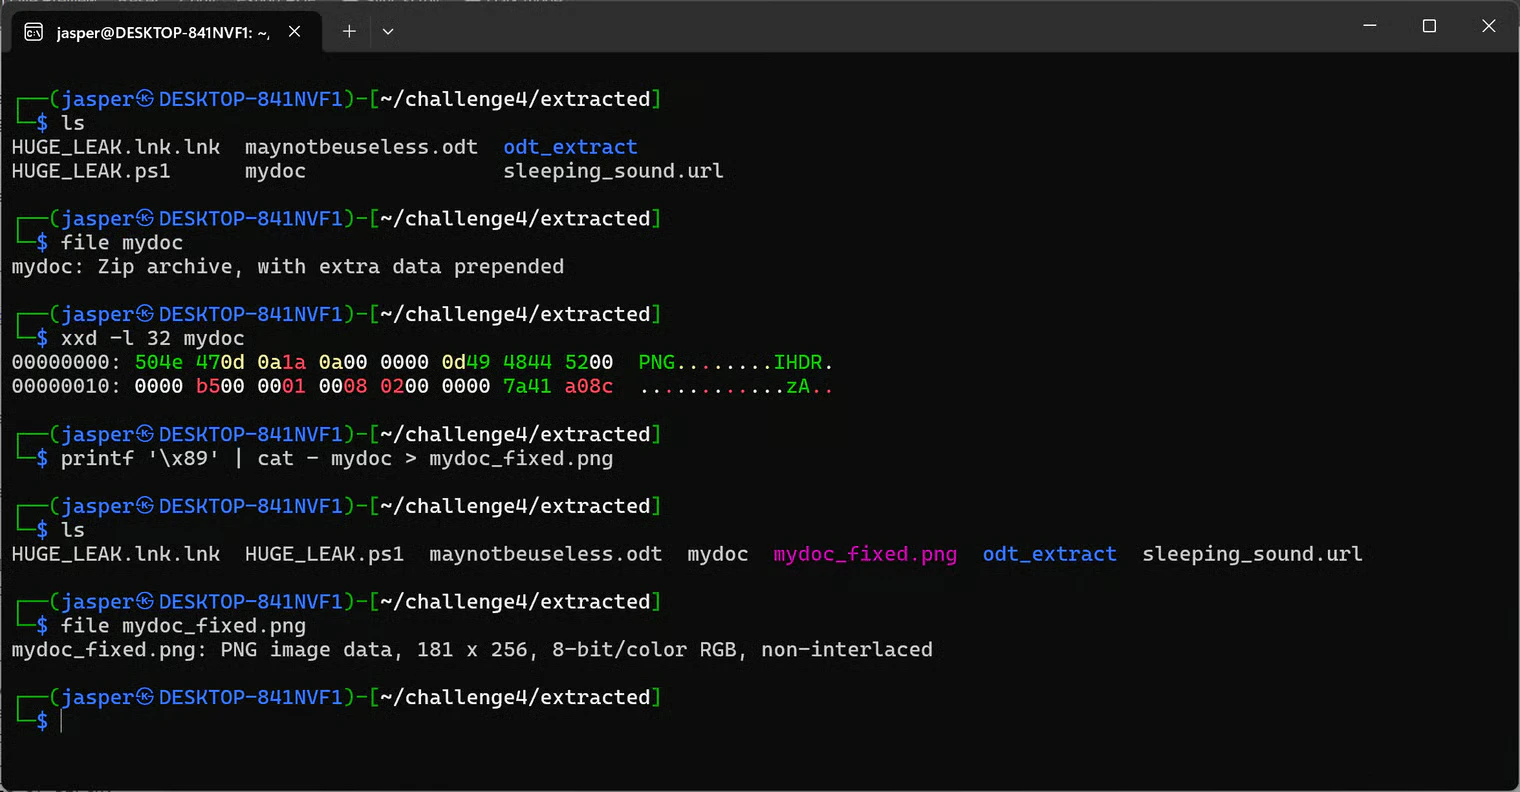
Files have fixed starting bytes called magic bytes. A PNG must start with 89 PNG. Because the first byte was gone, Kali didn’t recognize it correctly as an image. I added the missing byte back:
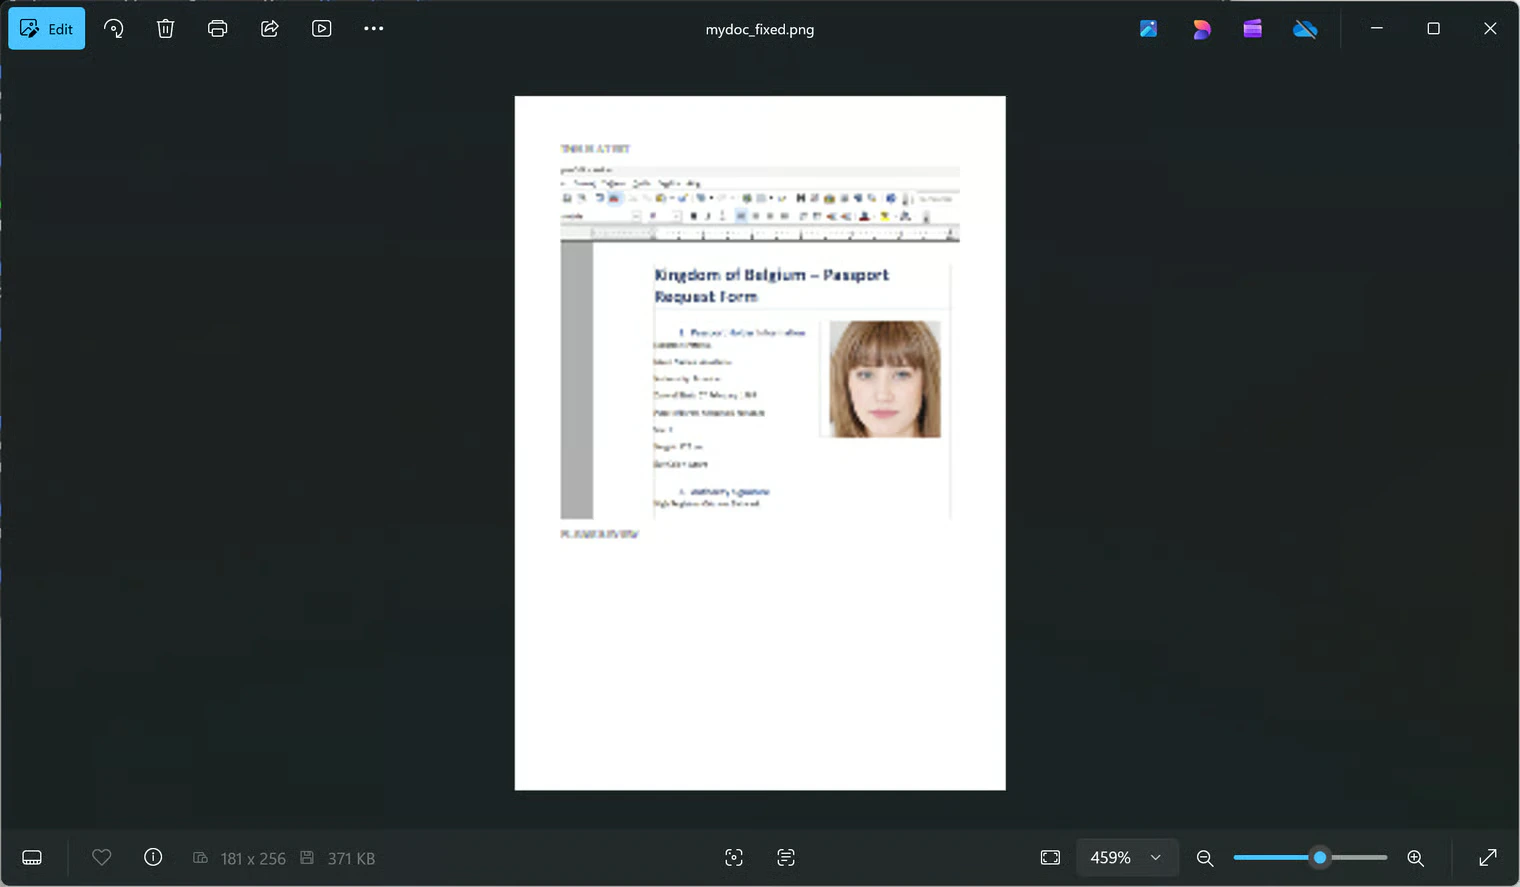
xdg-open mydoc_fixed.png, I got:
Hunting for Hidden Files with Binwalk
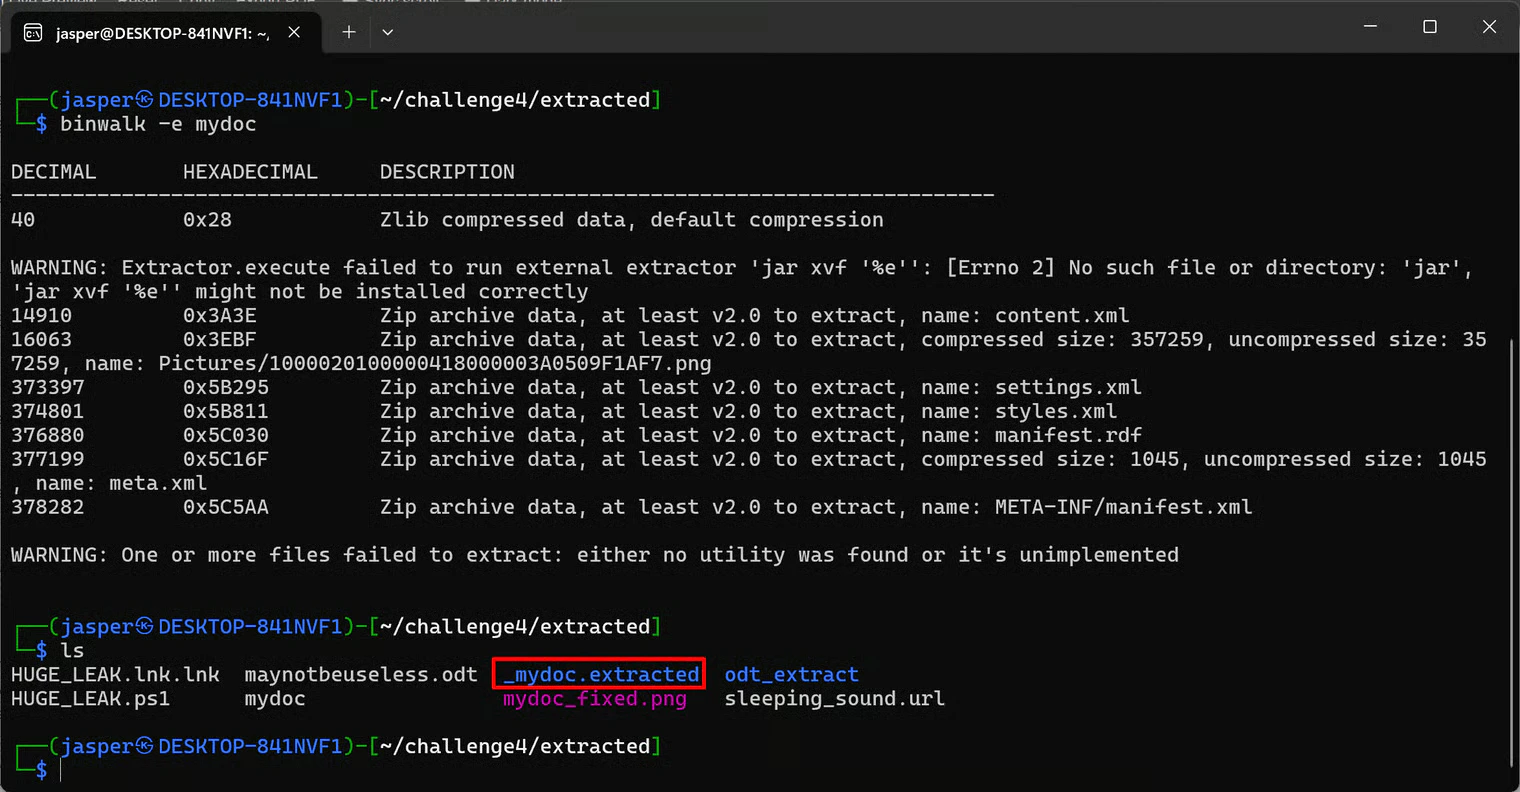
Since the visible PNG wasn’t readable, I went looking for hidden files insidemydoc using binwalk:
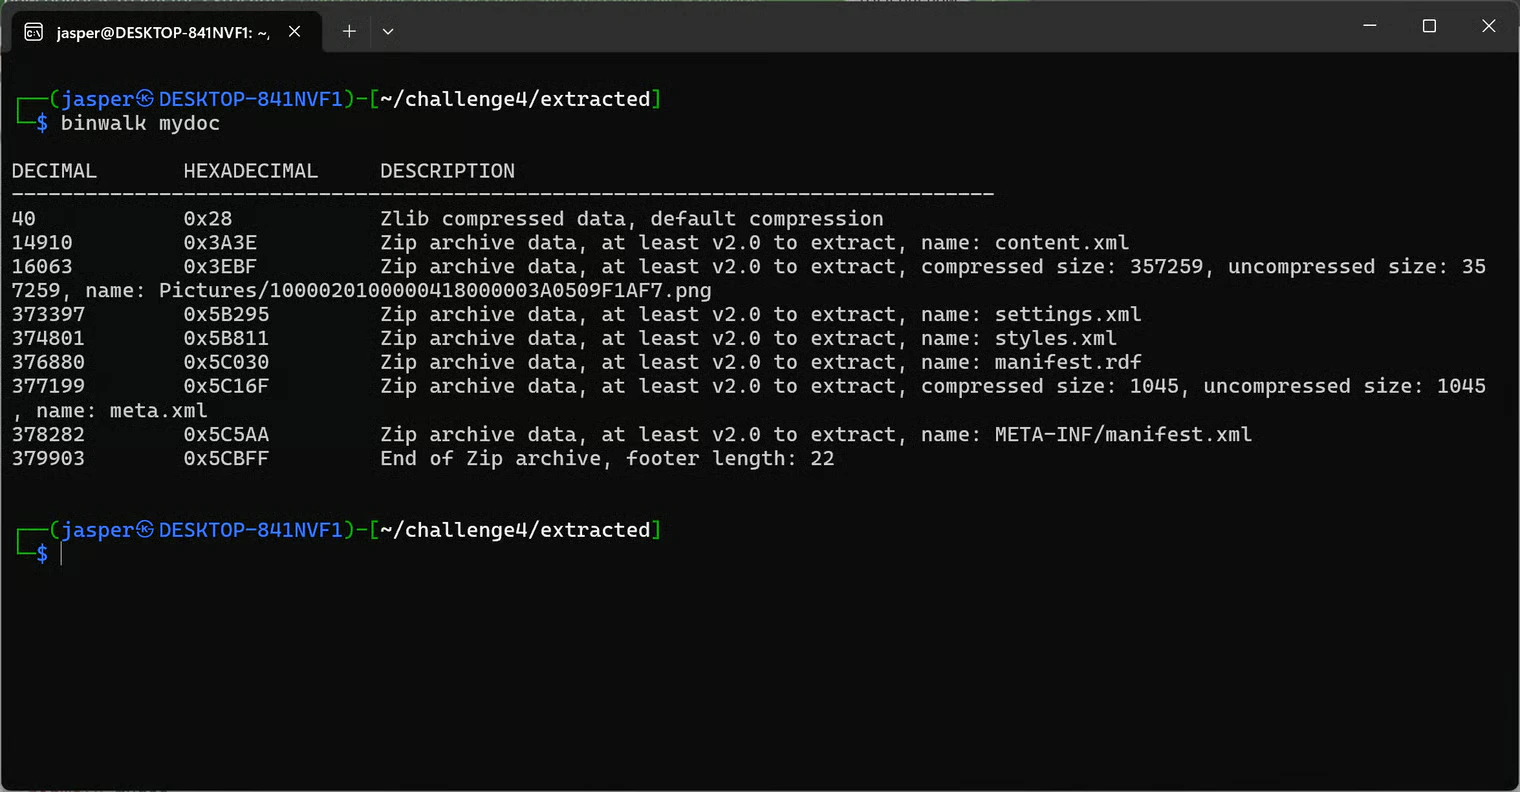
content.xml and another .png worth examining. There was effectively another ODT/ZIP structure hidden inside mydoc.
I made sure to run binwalk on the original mydoc, not on mydoc_fixed.png. When I added the 0x89 byte to fix the PNG, I may have shifted or corrupted the embedded hidden files. The unmodified mydoc was the only reliable source for carving.
To actually extract the embedded data:
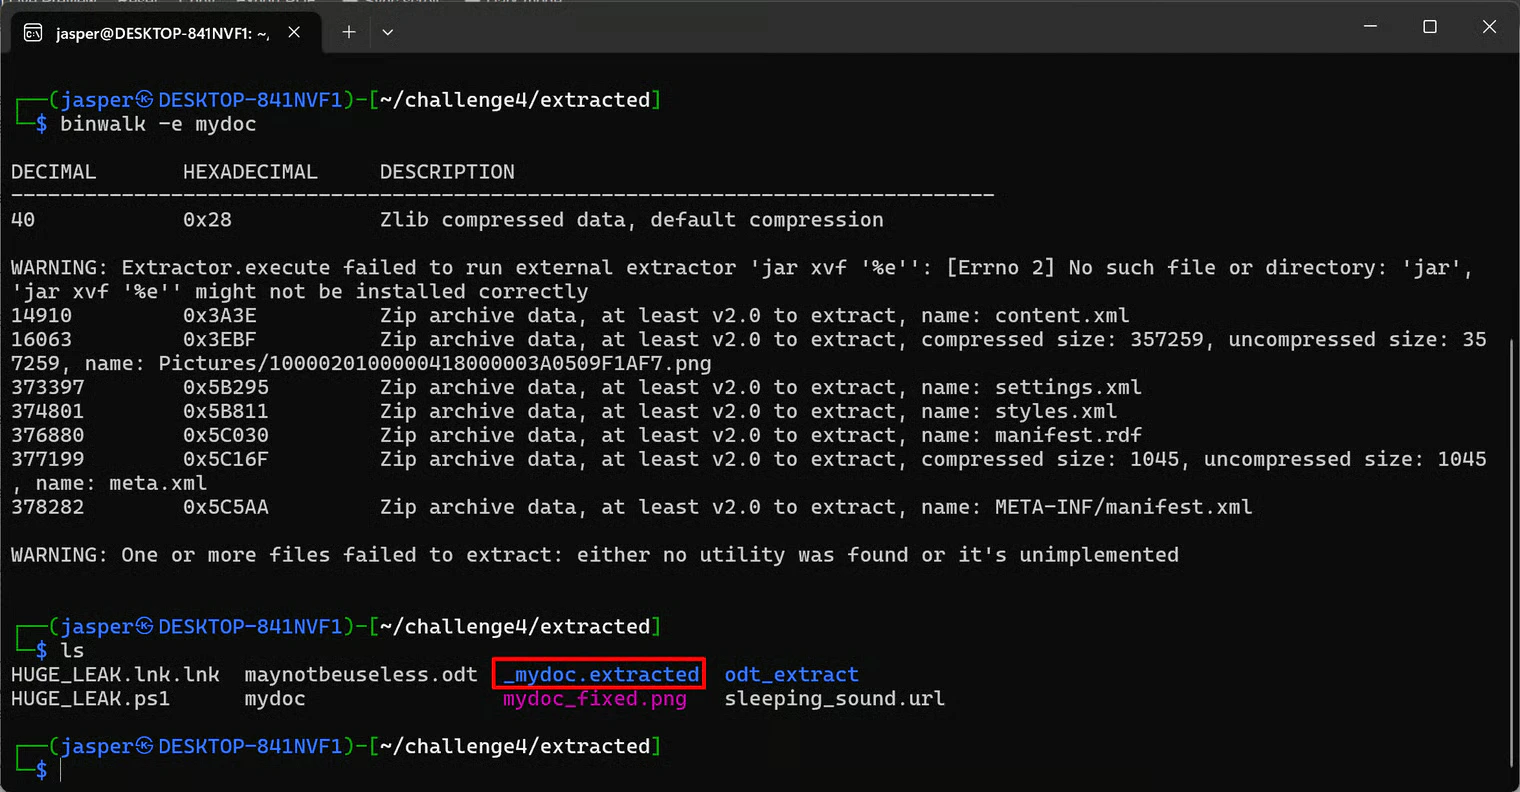
mydoc:
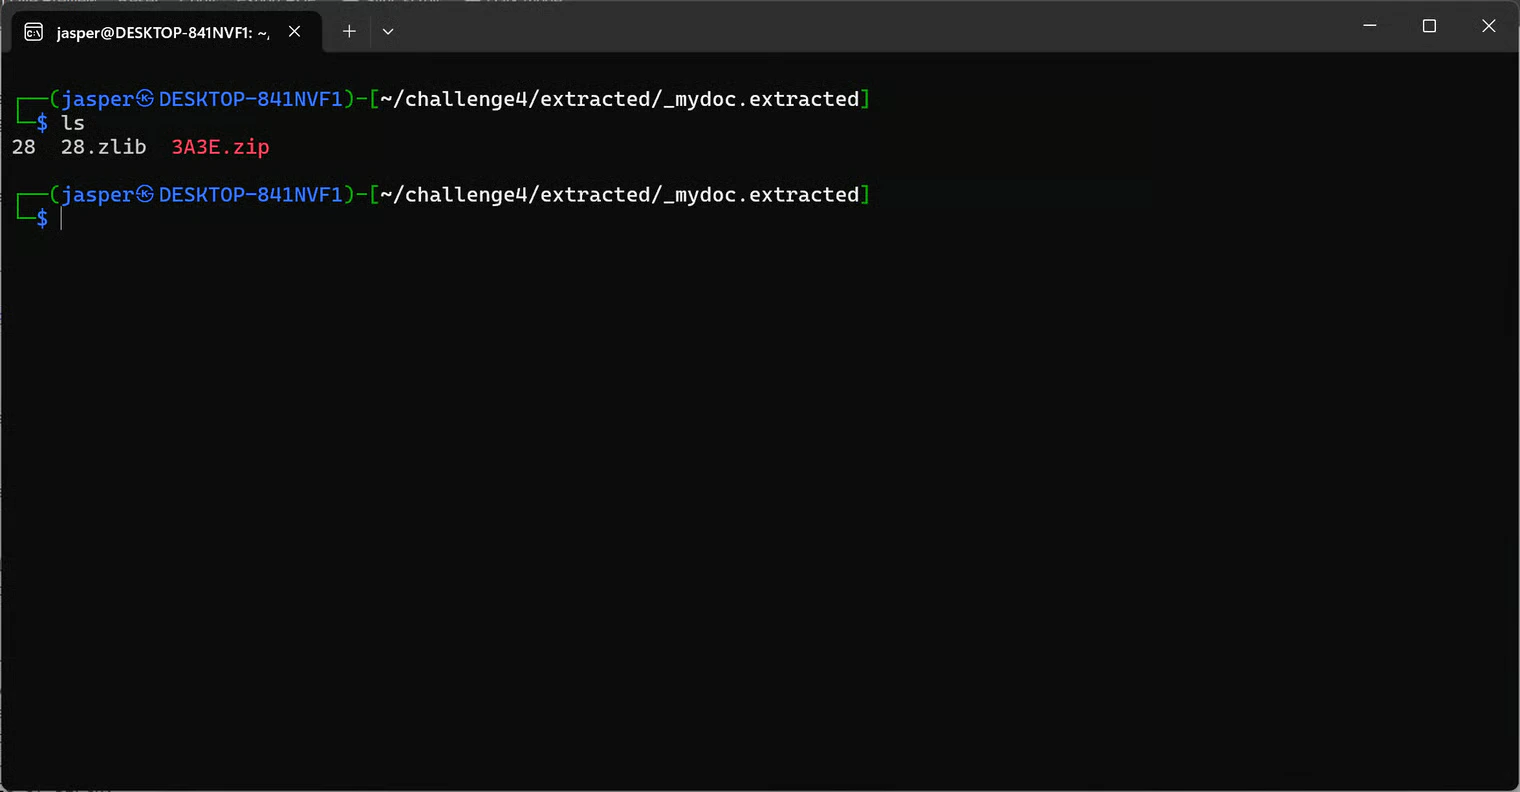
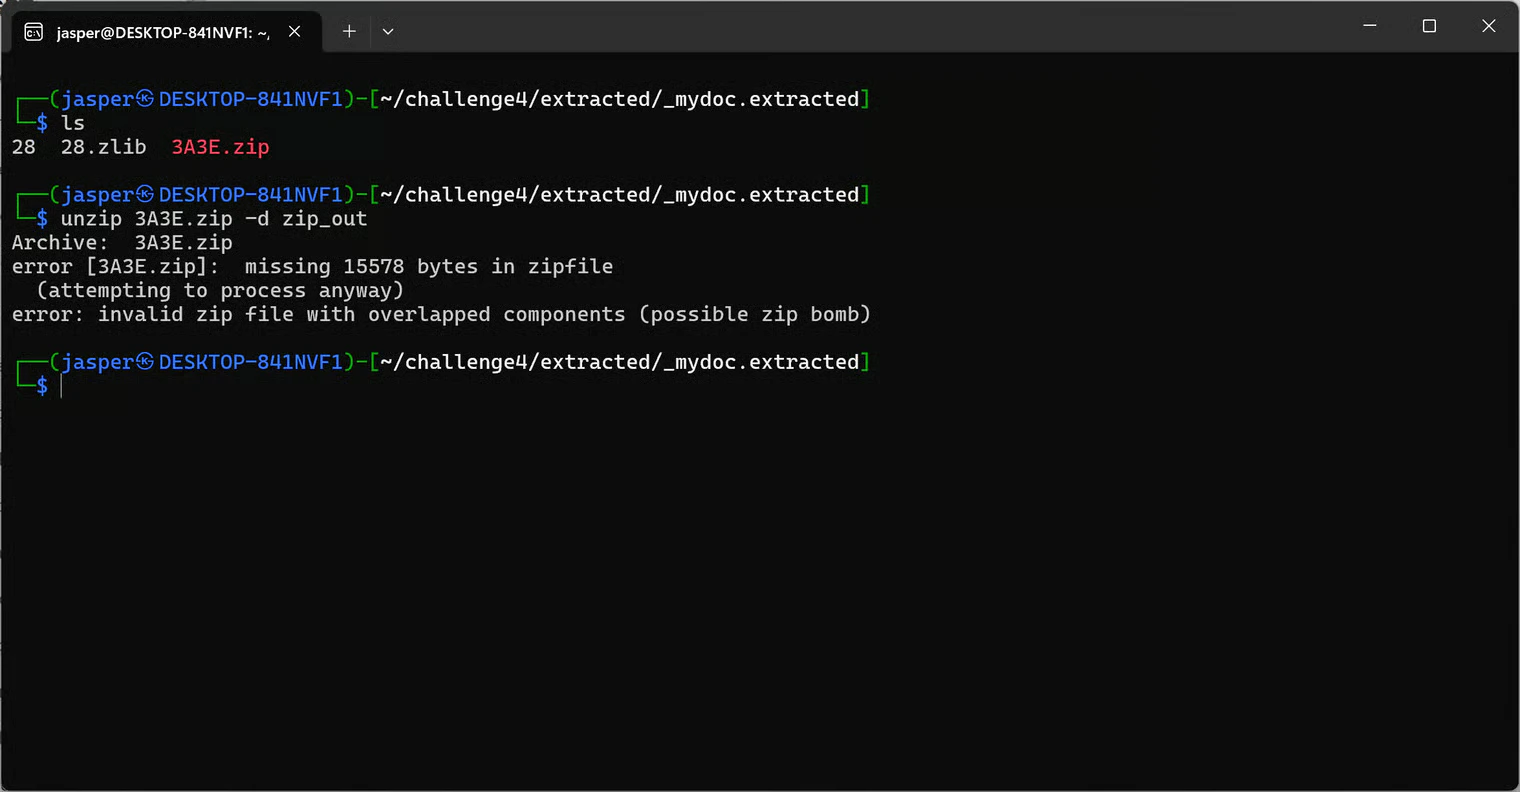
binwalk output, I had already seen:
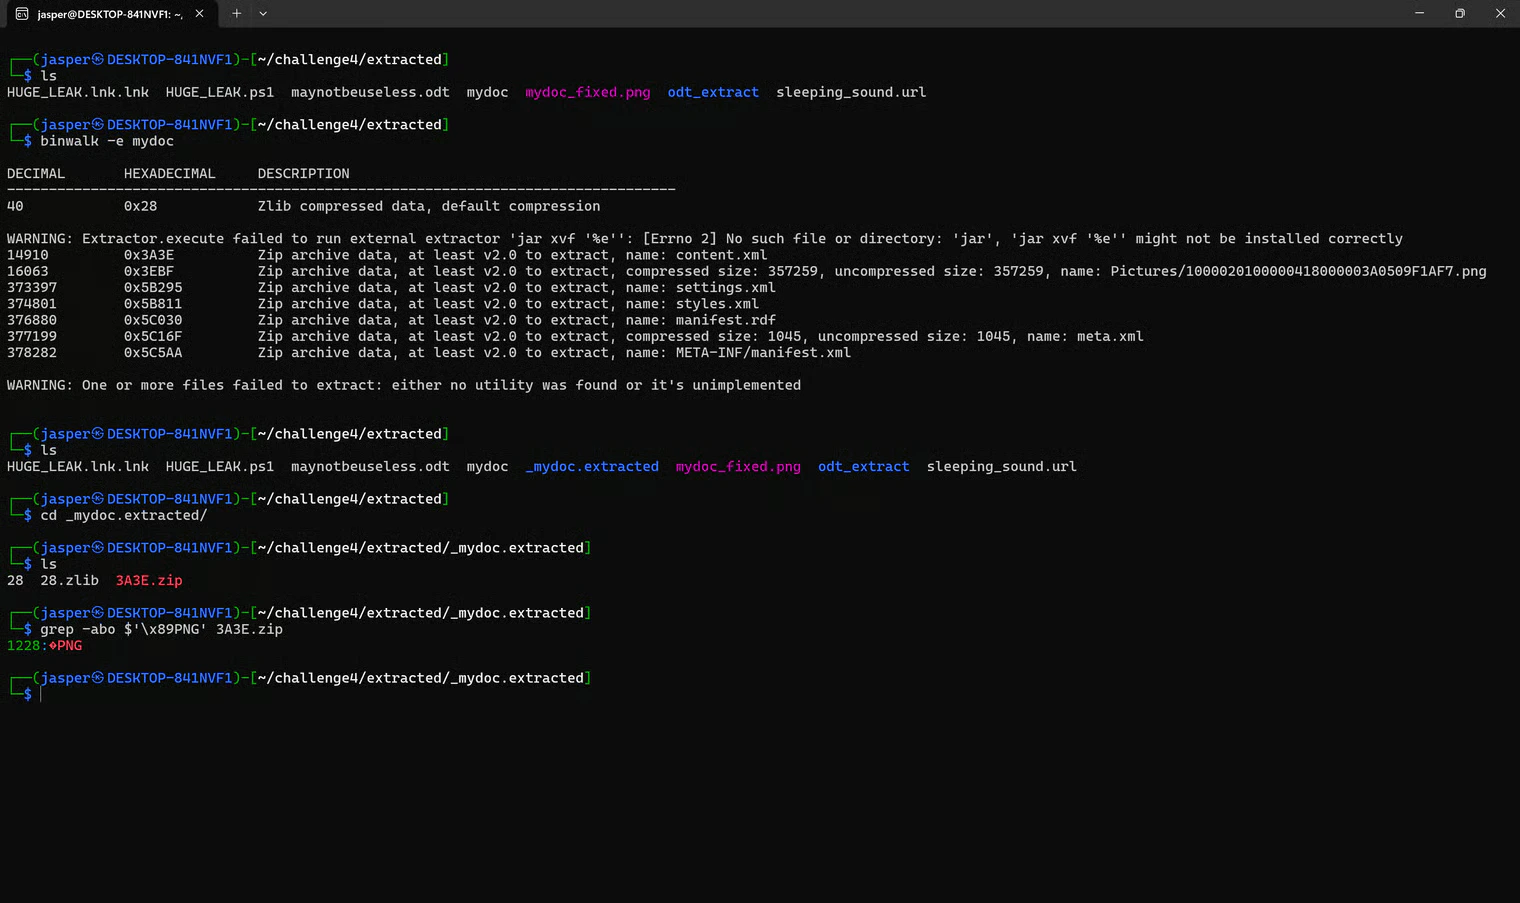
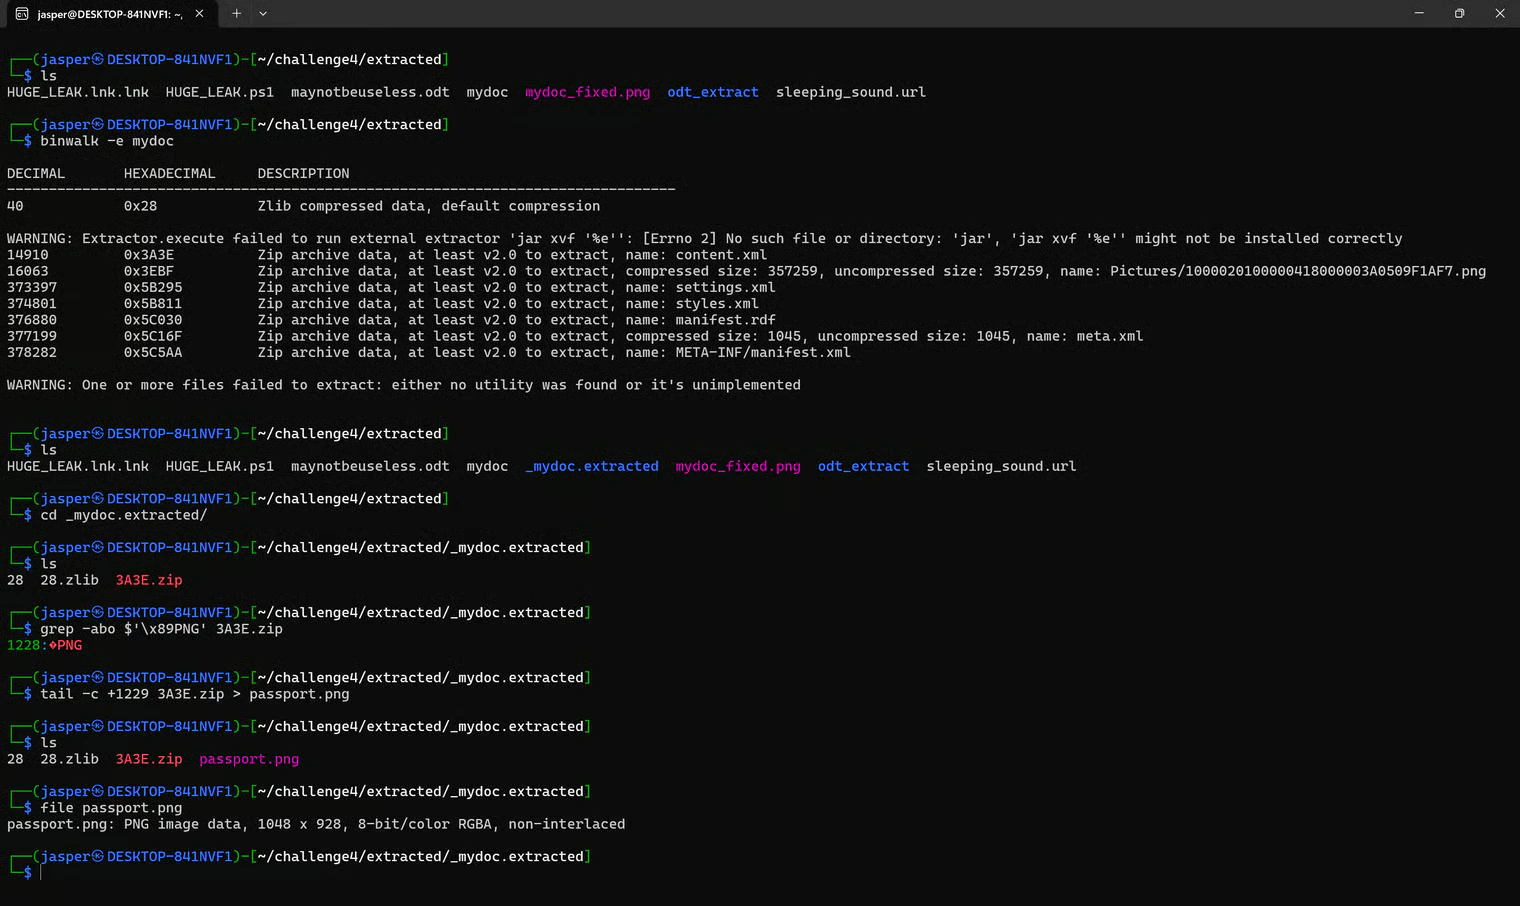
1228. From there, I could carve the image out:
1229 and not 1228? Because grep counts from 0, but tail -c counts from 1. So:
grepsays1228tailneeds1228 + 1=1229
passport.png”.
xdg-open passport.png:
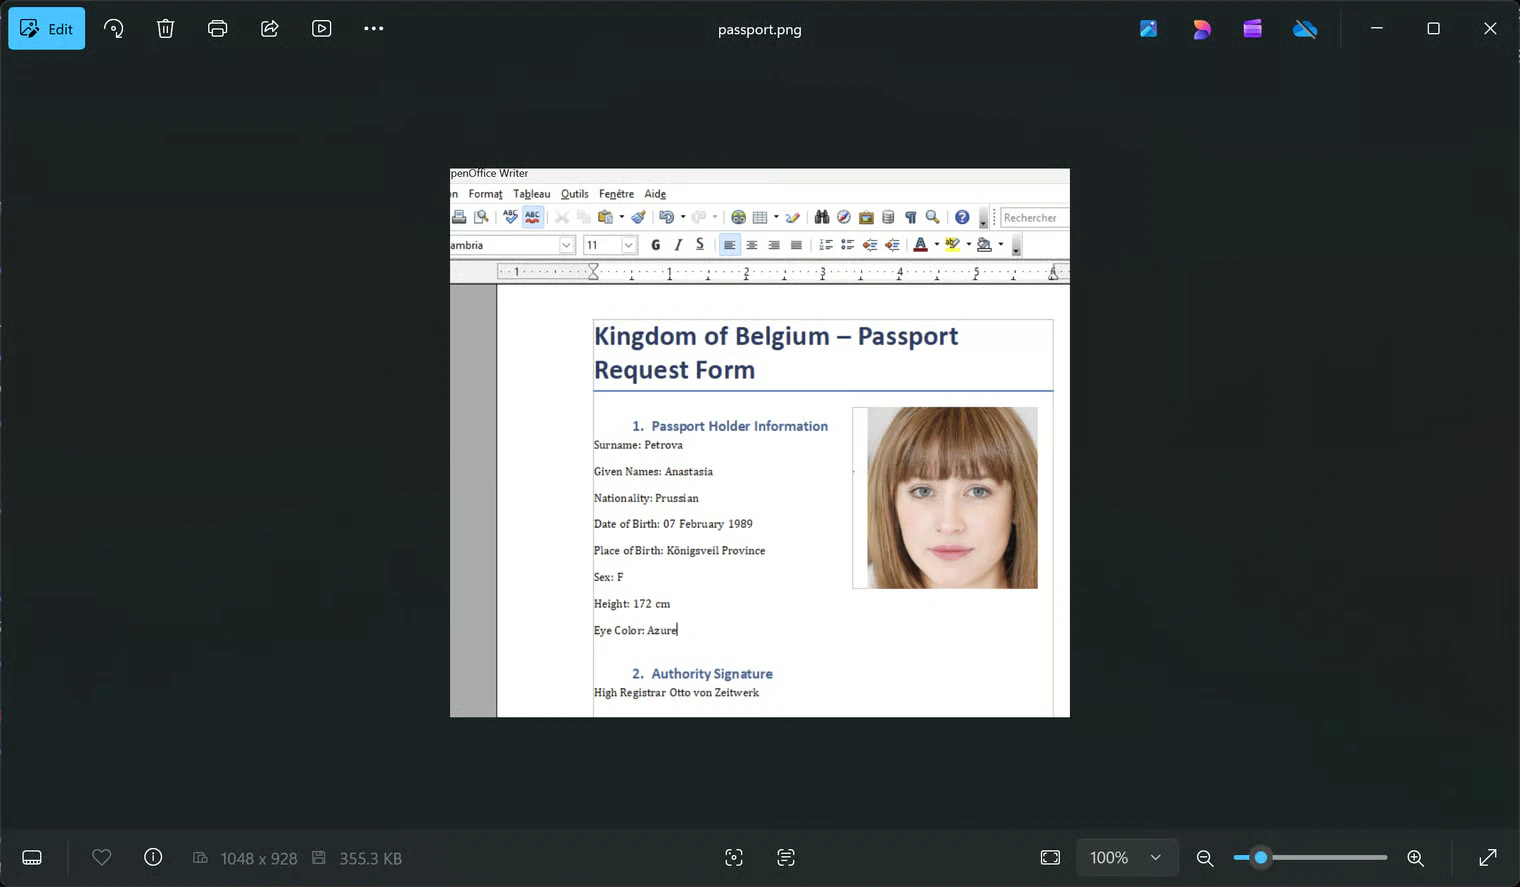
Anastasia Petrova
Tools Used
- file: To determine the initial file type of
usb_image.E01andmydoc. - ewfmount (ewf-tools): To mount the E01 forensic image as a readable volume.
- The Sleuth Kit (fls, icat): To list the files inside the USB image and extract them by inode number.
- strings: To pull readable text out of the PowerShell script and URL shortcut.
- unzip: To unpack the
.odtdocument as a ZIP archive. - xxd: To inspect the raw bytes of
mydocand identify the missing PNG magic byte. - binwalk: To detect and extract files hidden inside
mydoc. - grep & tail: To locate the exact offset of the embedded PNG and carve it out of the corrupt ZIP.
Summary
- Key Steps: I mounted an E01 forensic image, listed and extracted the files on the USB with
flsandicat, and inspected each one. The.odtdocument gave me a photo and a creator (SMO), while a file namedmydocturned out to be a PNG missing its first magic byte. After patching it I got a blurry passport form, so I ranbinwalkon the originalmydocto find a hidden ZIP, then carved the embedded PNG out by hand to reveal the passport details of Anastasia Petrova. - What I Learned: This challenge was a great walkthrough of a forensic USB-image workflow, using
ewfmountand the Sleuth Kit to work with E01 images, recognizing PNG magic bytes, and carving files out of a corrupt ZIP container usinggrepandtailinstead of relying onunzip. Hidden data layers can survive even when the outer container is brokenCrucial Mistakes/Takeaways: The biggest pitfall I had to avoid was runningbinwalkonmydoc_fixed.pnginstead of the originalmydoc. Patching the missing0x89byte was necessary to view the first image, but it shifts every byte that follows, which would have corrupted or hidden the embedded ZIP. Always carve from the untouched original whenever you’ve already modified bytes earlier in the chain.